Getting Started

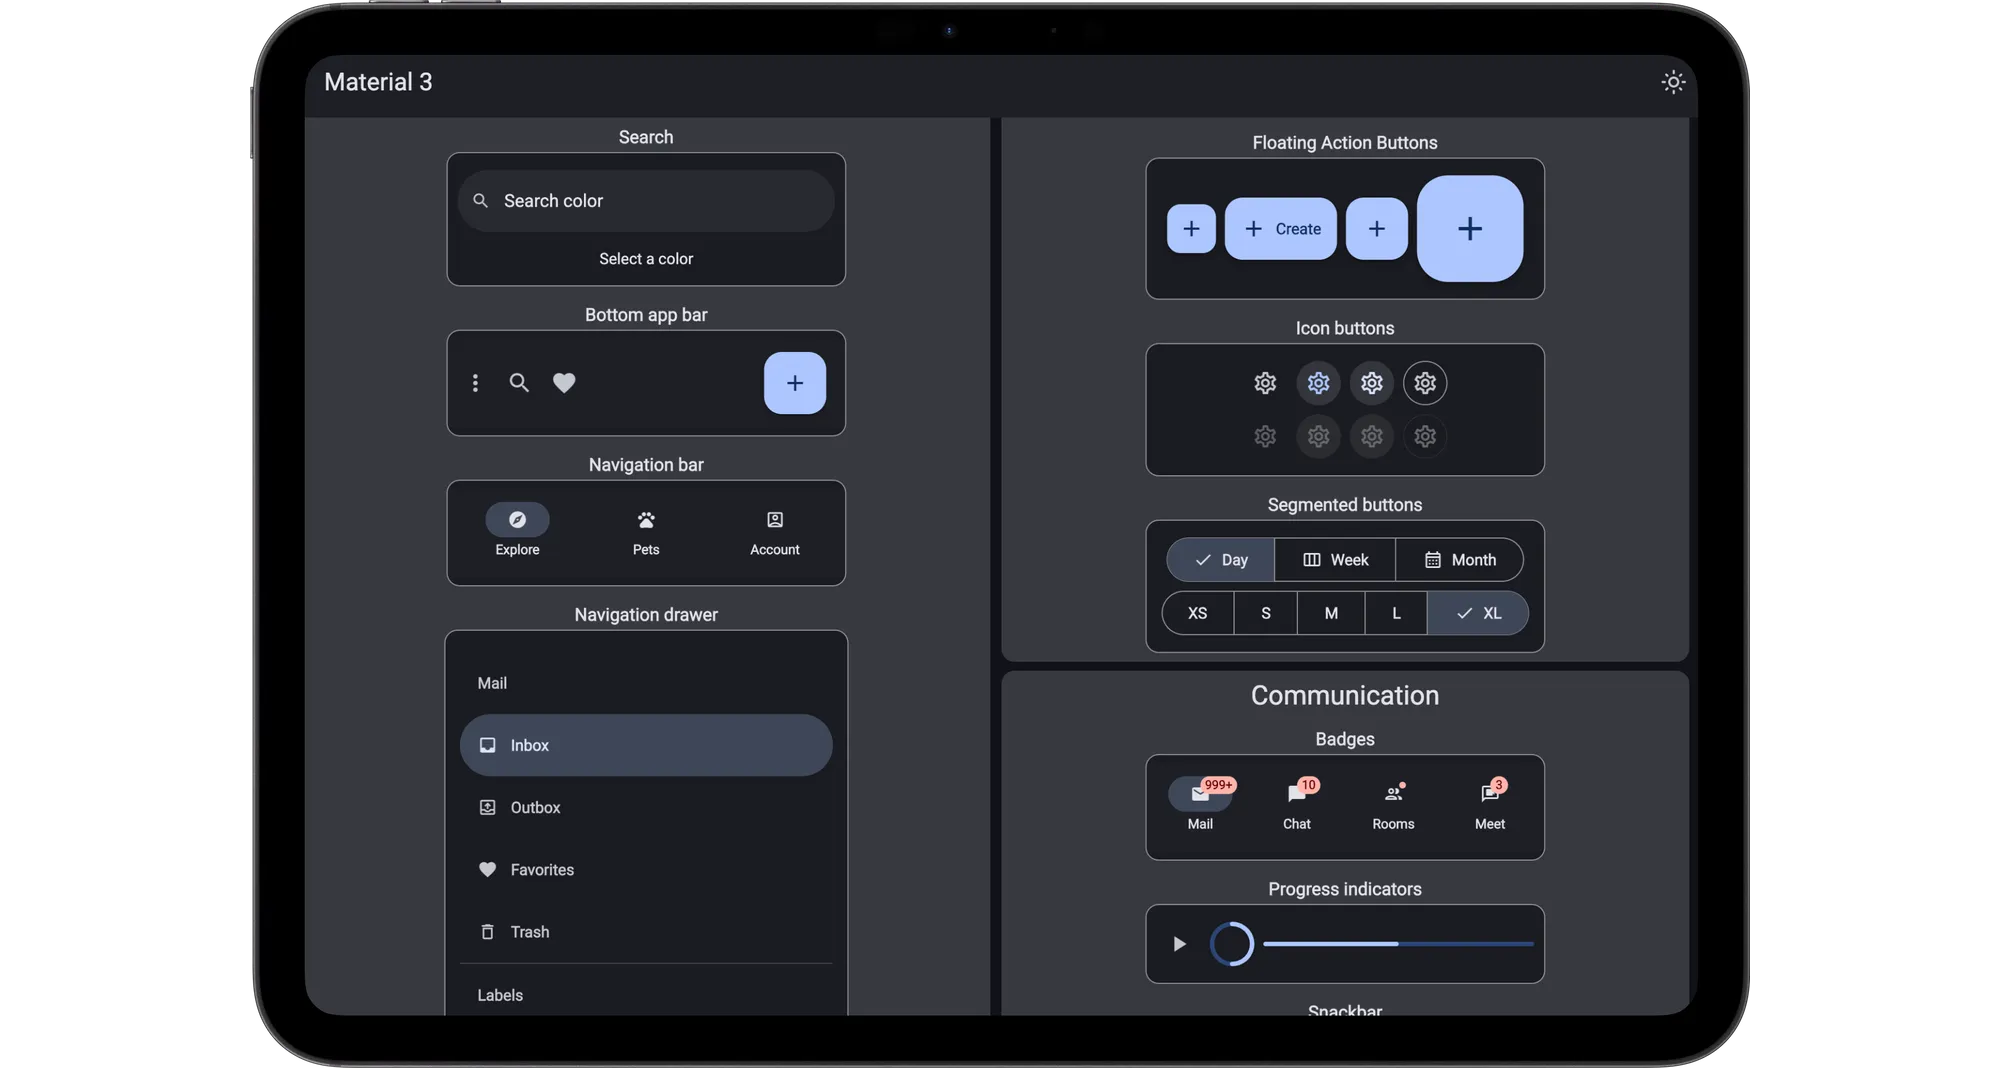
Welcome to the documentation for the Material 3 Design System for Slint. Learn more about Slint here ↗.
To start a project from scratch, follow the instructions from one of our template reprositories:
To use the components in your existing project, download the source code of the material component from https://material.slint.dev/zip/material-1.0.zip ↗ and extract it into your repository. Then follow the documentation to configure the use of @material as a library ↗.
Here’s an example of how to configure it for different languages:
In your CMakeLists.txt file, use LIBRARY_PATHS in the slint_target_sources function.
slint_target_sources(my_application ui/main.slint LIBRARY_PATHS material=${CMAKE_CURRENT_SOURCE_DIR}/material-1.0/material.slint)In your build.rs, call CompilerConfiguration::with_library_paths
// build.rsfn main() { let config = slint_build::CompilerConfiguration::new().with_library_paths( std::collections::HashMap::from([( "material".to_string(), std::path::Path::new(&std::env::var_os("CARGO_MANIFEST_DIR").unwrap()) .join("material-1.0/material.slint"), )]), ); slint_build::compile_with_config("ui/main.slint", config).unwrap();}Provide the libraryPaths map with loadFile:
let ui = slint.loadFile("ui/main.slint", { libraryPaths: { "material": path.join(path.dirname(fileURLToPath(import.meta.url)), "..", "material-1.0", "material.slint") }});Provide the library_paths dict with load_file:
ui = slint.load_file( Path(__file__).parent / "ui" / "main.slint", library_paths={ "material": Path(__file__).parent / "material-1.0" / "material.slint" },)Next Steps
Section titled “Next Steps”All the documentation for Slint’s Material UI components can be found on this site.
Follow the development in the Github repository ↗.
To learn more about Material Design, dive into Google’s comprehensive Material Design 3 documentation ↗.
Compose designs in Figma by taking advantage of the Material Design 3 Figma Kit ↗
© 2025 SixtyFPS GmbH